Don’t Ruin Your Cast Iron Skillet: Here’s How to Clean it Properly
Primal Edge Health participates in the Amazon Services LLC Associates Program and other affiliate programs and therefore, may collect a share of sales or other compensation from the links on this page. This comes at no additional cost to you, and all the prices and availability are accurate at the time of publishing.
Don’t be afraid of damaging a
Table of Contents (click to view)
How to clean a cast iron skillet in 3 easy steps
Cleaning cast iron is an easy three-step process, but you do need the proper technique and tools lest your beautiful pans incur any damage.
Treat it right and your skillet will last a lifetime and likely be in good enough condition to pass on to the next generation. That’s how tough this kitchen equipment is. Cast iron’s durability, longevity, and plastic-free nature make it a sustainable choice worth considering.
Unlike any other cookware, cast iron can get better with age. It also holds a nice even heat, making an excellent tool for quick and easy skillet dinner meals.
Cleaning a cast-iron skillet is not as scary as it seems. If the skillet is properly seasoned, there’s not much you can do in normal cleaning that will ruin the seasoning since the seasoning oil actually bonds with the metal to form a seal. Even dish soap can’t break through that bond.
Robin Donovan, All Ways Delicious
However, cast iron isn’t indestructible. For example, it’s not dishwasher safe, nor is it scratch-proof, and it will rust if not attended to correctly.
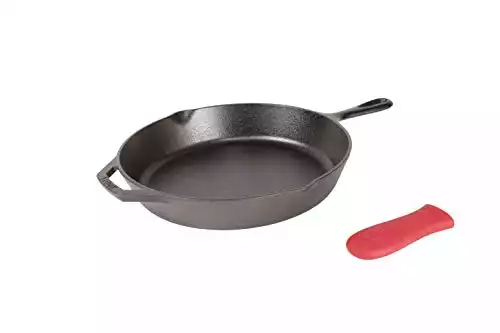
This cast iron skillet was the first piece of cast iron equipment I ever bought and have never regretted it.
- Daily workhorse
- Heats quickly
- Oven-safe for one-pan meals
- Looks beautiful for serving
Step 1: Wash the skillet
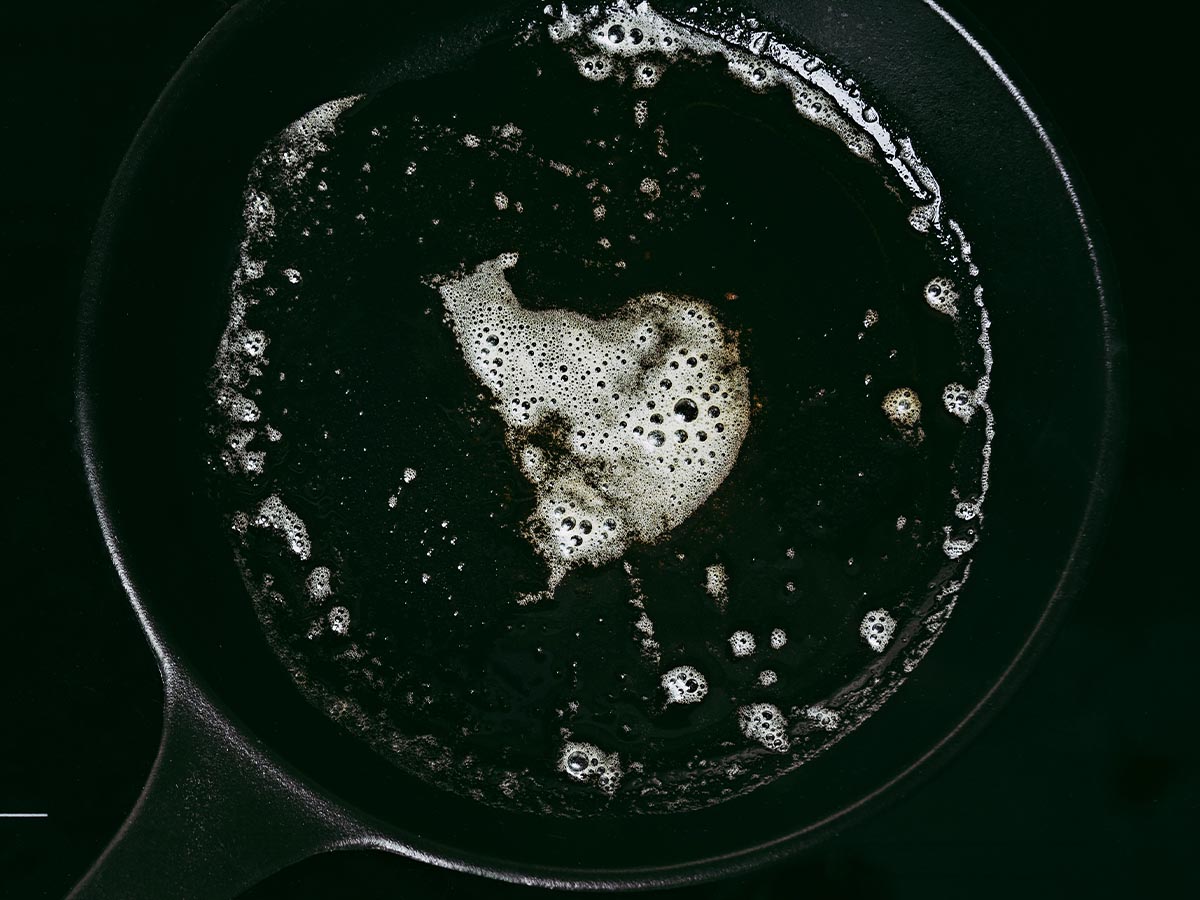
When it comes to cleaning cast iron skillets, hot water is the go-to resource for getting the job done.
Begin by cleaning the pan out as best you can with a wooden or silicon spatula, and save leftovers in food-safe containers.
Next, place the pan under hot water and rinse off as much remaining food as possible.
You can also pre-wipe the pan, as Lara describes:
After using a
Lara Clevenger, LaraClevenger.comcast iron skillet , I like to let it cool down a bit and then wipe out the bits of food and grease with a paper towel or damp cloth.
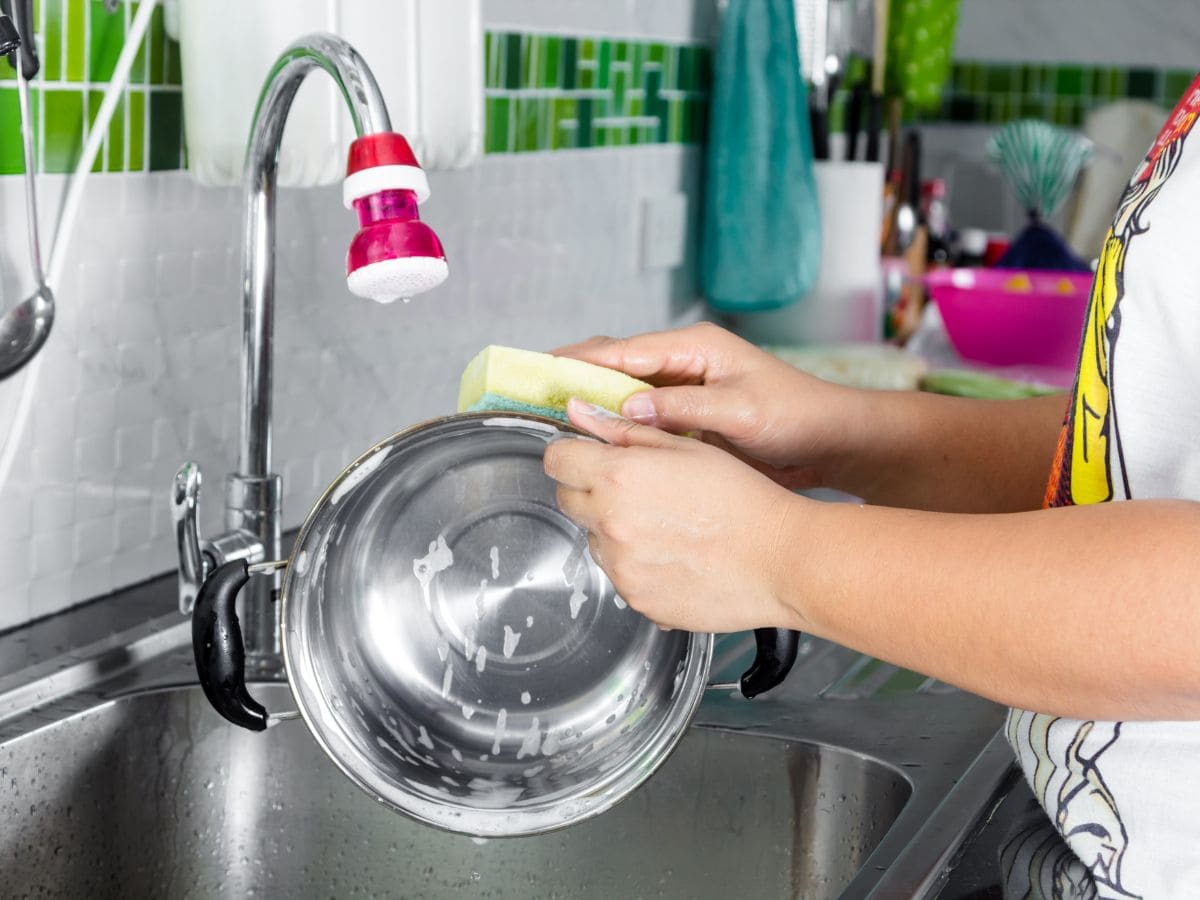
Then, hold a scouring pad or cleaning brush specifically for cast iron and gently scrub the surface as needed.
Typically, you only need to scrub for a minute or so before the pan returns to a spotless state.
Is it ok to use soap on cast iron?
A controversial atmosphere surrounding using soap on cast iron gets heated on both sides. Some say yes, while others say no.
America’s Test Kitchen sets the record straight by announcing: Yes, you can use soap on cast iron.
That being said, the statement assumes you’re working on a well-seasoned pan and choosing a mild dish soap. I recommend non-toxic dish soap with natural ingredients. It’ll be gentler on your pan as well as your hands.
Chances are, if you’re using a new pre-seasoned pan or have built up a good seasoning yourself, then it’s safe to wash gently with a mild dish cleaning agent. More often than not, using hot water and a small amount of dish soap combined with a soft sponge is sufficient.
Step 2: Dry the skillet
Drying the skillet is the primary way we preserve long-term quality and keep it free from rust.
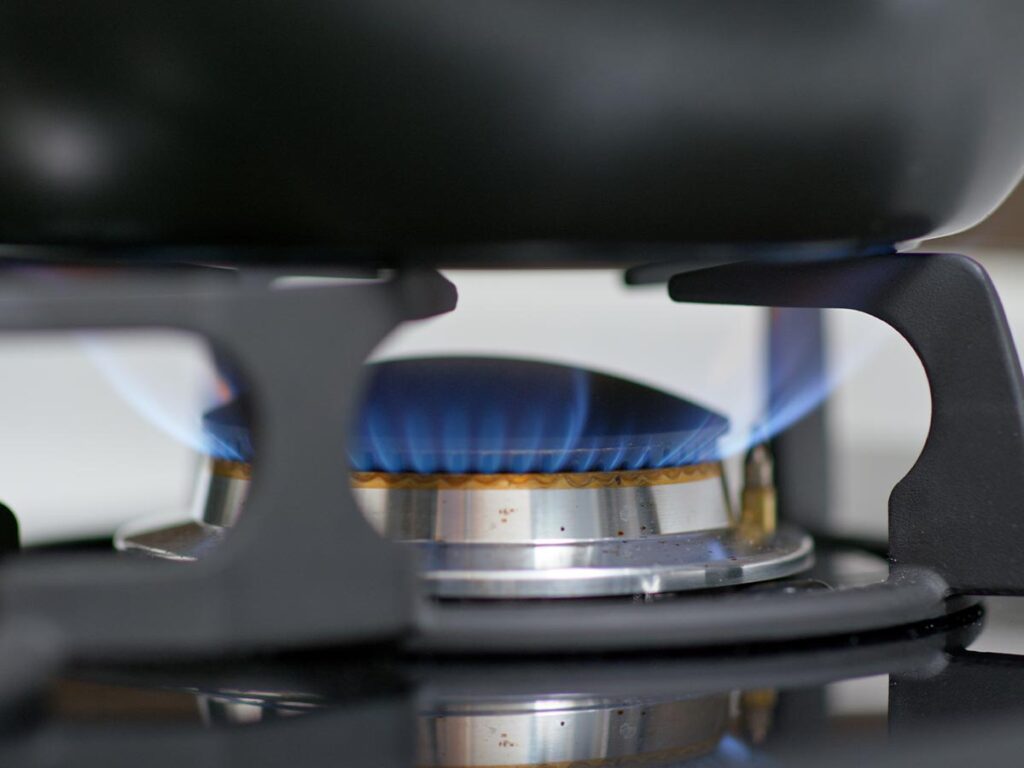
Set the pan over medium-high heat until the water evaporates off the surface.
Step 3: Season the skillet
Finally, rub oil over all surfaces, inside and out.
The process is as simple as it sounds:
After I wipe the skillet dry with a dish towel, I put it on the stove over medium heat. Then, once it’s totally dry, I pour a little cooking oil in, and wipe that around the skillet with some paper towels. I can have cast iron cleaned and put away in less than 5 minutes!
Sara Nelson, Real Balanced
This seasoning method effectively creates a bond with the iron, thereby creating a natural nonstick coating that is so closely associated with cast iron cookware. It’s precisely this nonstick coating without chemicals that we’re after because cast iron cooking is great for just about anything from cabbage stir-fry to fish and even eggs.
The pan will be exceptionally hot after drying it out. Choose any cooking fat from lard or tallow to olive or flaxseed oil and wipe it around with a paper towel. Personally, I prefer to use beef tallow for my cast iron because it remains stable in very high heat and adds a bit of rich flavor to the pan.
What to do with frightfully grimy pans?
You might be tempted to soak the pan in water as a way of softening up crusted and stuck-on food bits. Even though this works with regular dishes, please don’t make it a practice with your cast iron.
Instead, add water to the pan and heat it on the stovetop. Scrape the bottom and sides with a wooden spatula and continue heating until the water boils. Don’t risk scratching the coating with metal utensils.
Gina Matsoukas, from Running To The Kitchen, recommends making a paste with water and salt if the problem persists. Apply the salt scrub to the pan’s surface and spot clean with a folded kitchen towel or washcloth. You can use this trick for cleaning stainless steel pans too.
For seriously crusted skillets, spread 1 cup of salt on a still-warm pan. Then, likewise, fold a towel and scour the trouble zones. Finish off with a final rinse, and dry and season like normal.
Long-term care for cast iron skillets
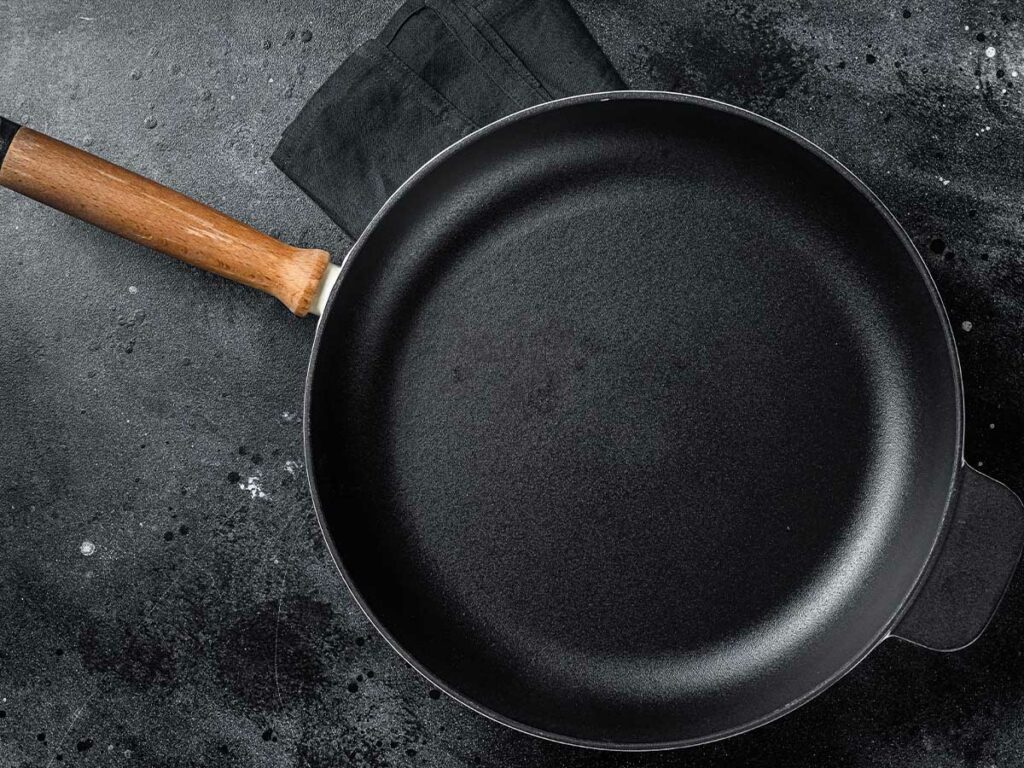
Best practices indicate high-success rates by reseasoning a skillet often after use. Ideally, after each time you cook with it.
Avoid a gummy pan by maintaining a nice slick seasoning. Too much oil will build up into a sticky surface. If this ever happens, wash it off with hot water, dry thoroughly, and reseason with a thin layer of oil.
Be consistent by following the simple steps of washing, drying, and seasoning a
This article originally appeared on Food Drink Life.



I bought a cast iron skillet years about because I love the idea of it, but admittedly it’s mostly been collecting dust in the cupboard. I was overwhelmed by the thought of all the special maintenance it would require, but this post made me realize how simple it is! I especially appreciate the tip about drying it on the stove top.
You can do it Lizzy! Follow the step-by-step process and it will work beautifully.