A Crackling Guide to Perfect Hard-Boiled Eggs
Primal Edge Health participates in the Amazon Services LLC Associates Program and other affiliate programs and therefore, may collect a share of sales or other compensation from the links on this page. This comes at no additional cost to you, and all the prices and availability are accurate at the time of publishing.
When prepared just right, eggs can make all the difference in various dishes. The perfect hard-boiled egg boasts a creamy yolk without any green rings. Beyond being a versatile addition to breakfast, eggs can play a key role in salads, deviled eggs, pickled eggs and even snacks.
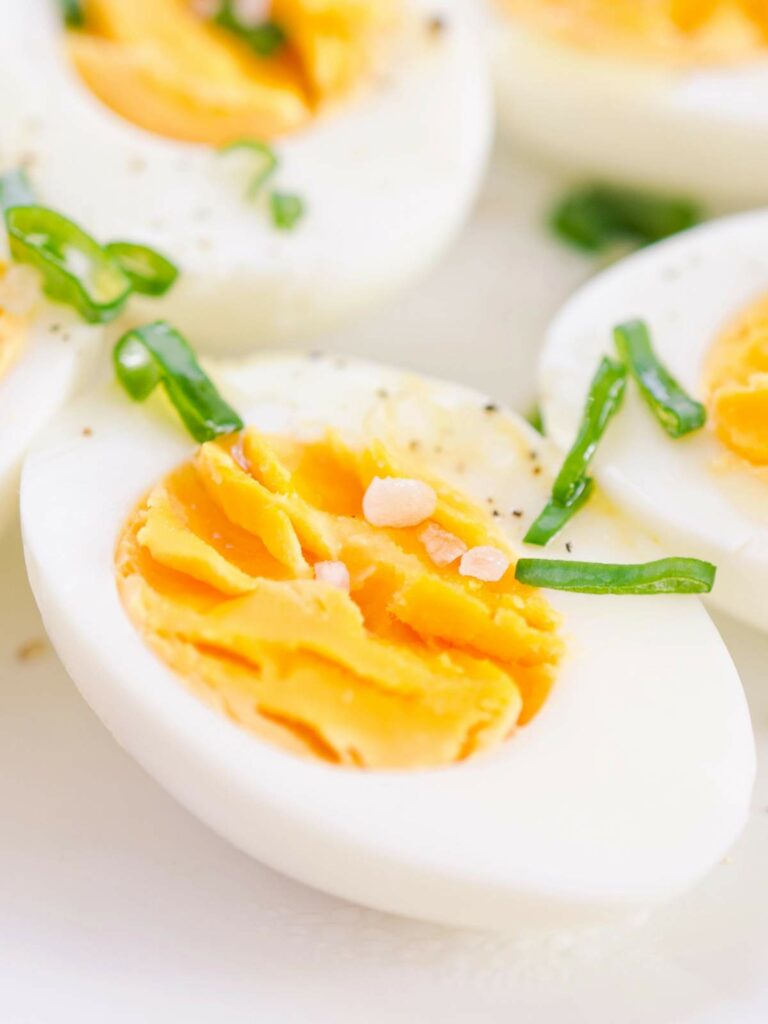
Learning how to boil eggs can be a frustrating process. Sometimes, you can boil them for too long and end up with tough, rubbery eggs. Other times, your boiled eggs can be too runny and taste too much like raw egg.
Luckily, mastering the art of boiling eggs is a quick and easy kitchen skill that requires a few minutes of your time. With the right method, you can consistently achieve perfectly cooked hard-boiled eggs that are easy to peel and have vibrant yellow yolks.
Table of Contents (click to view)
Guide to Boiling Eggs
Boiling eggs is a standard kitchen skill everyone should know. However, getting it down to a T might be challenging, especially if you don’t understand the terminology or have much cooking experience. On the flip side, it’s an easy skill to learn once you start.
Many stages of a boiled egg start with a runny yolk and tender albumen, also known as the egg white. This gradually evolves into a semi-solid consistency before ending in a hard-boiled state with a firm yolk and albumen, especially when you are using farm-fresh eggs.
Timing matters when boiling eggs because it determines how they turn out — whether you like them soft, medium or hard. Get it right and you’ve got eggs that work great in all sorts of dishes from scotch eggs to pickled eggs or boiled egg pudding.
- 6 minutes: A yolk in a liquid state accompanied by a tender egg white is considered a soft-boiled egg and is ideally suited for those fancy egg cups.
- 8 minutes: The yolk becomes medium-textured, slightly soft and maintains its firmness.
- 10 minutes: Although resembling a hard-boiled egg, a hint of softness remains inside.
- 12 minutes: A thoroughly hard-boiled egg with a just solid yolk.
- 14 minutes: Classic hard-boiled style with a light yolk and a solid but not rubbery white.
How you start cooking your eggs is also important. If you want better control of your cooking temperature, lower your eggs into already boiling water. However, keep in mind that boiling water cooks the eggs rapidly, and you’ll need to stop the cooking process right after by plunging your eggs in ice-cold water.
Alternatively, you can try putting your eggs into cold water and waiting for it to boil. Starting with cold water helps the eggs cook more evenly and prevent the shells from cracking. However, I only recommend this method once you get the hang of timing and can watch over the stove so you can time the boiling correctly.
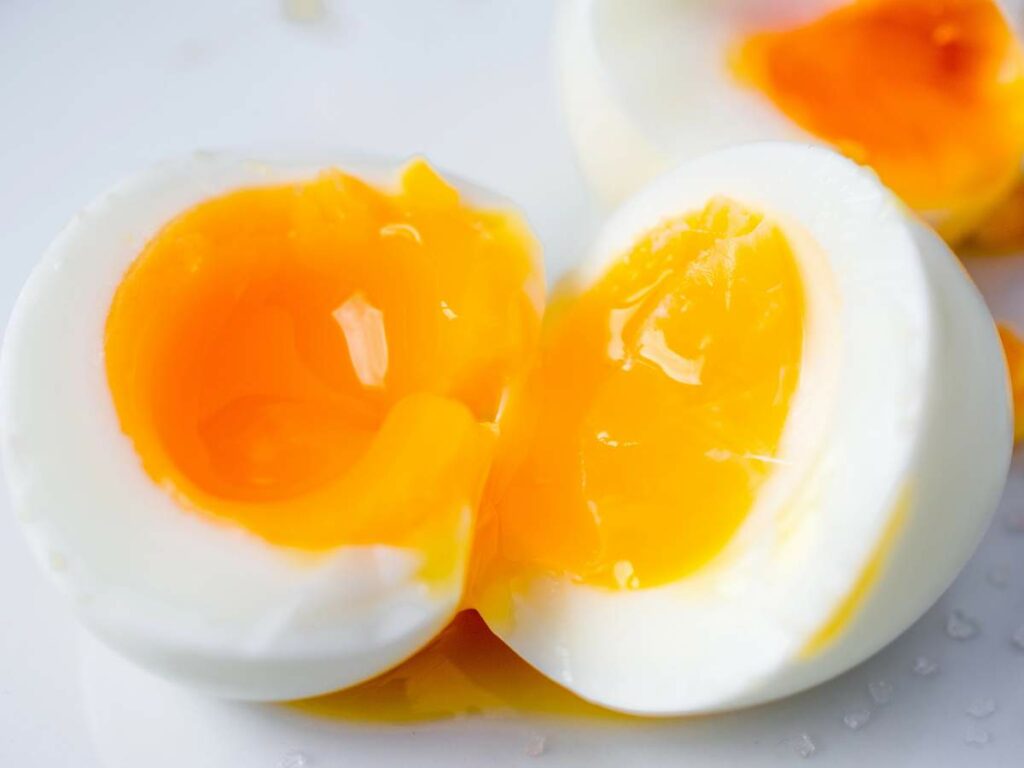
Steps for Making Hard-Boiled Eggs
This process is easy, allowing you to boil any amount of eggs you like. You will need a pan or pot large enough to fully cover the eggs in water for even cooking.
- Check if your eggs are fresh and safe to use. You can tell if an egg is rotten if it has discoloration, strange textures, or a foul odor.
- Begin by bringing a pot of water to a rapid boil on the stove.
- Carefully place the raw eggs into the boiling water, making sure they are submerged.
- Allow the eggs to boil for about 30 seconds. This will help firm up the outer layer of the egg whites.
- Lower the heat to keep the water at a gentle simmer; 180 to 190 F or 82 to 88 C is an ideal temperature.
- Let the eggs simmer gently in this low-temperature water until they reach the desired level of doneness, typically around 10 to 12 minutes, depending on your preference.
- Once cooked, remove the eggs from the water and place them in a bowl of ice water to stop the cooking process and make peeling easier.
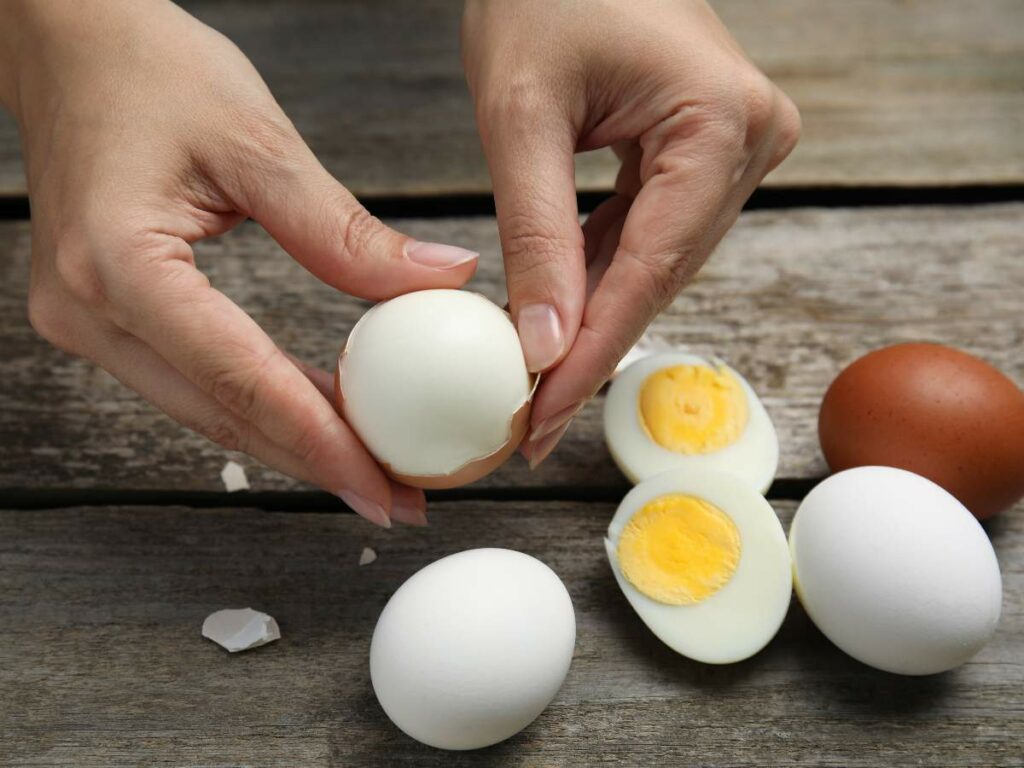
- After cooling for a few minutes, gently tap the egg on the counter and roll it around before removing the peel. If the shells are difficult to peel, try holding the egg under running water.
“I love eggs in just about any form. Hard-boiled eggs are great for egg salad, snacking or making soy sauce eggs to top a bowl of ramen. Soft-boiled eggs are perfect on toast or in a salad of bitter greens with a tart vinaigrette dressing that adds a rich savoriness that balances the other flavors.”
— Robin Donovan, Eggs All Ways
Did you know you can also make boiled eggs in an air fryer? That’s right! Check out Cook at Home Mom’s air fryer boiled eggs tutorial for the best tips.
The Green Ring in Hard-Boiled Eggs
The greenish-gray ring that sometimes forms around the yolk of hard-boiled eggs is known as an iron sulfide ring, a result of the sulfur in the egg whites reacting with the iron in the yolk. Several factors can contribute to the formation of this ring:
- Overcooking: Boiling eggs for an extended period can cause a reaction between sulfur and iron, resulting in a greenish ring.
- High heat: Cooking eggs at a rolling boil, rather than at a gentle simmer, can cause a green ring.
- Older eggs: Older eggs are prone to developing a green ring, even when boiled within the suggested time frame, because of the increased alkalinity of the egg white, hastening the chemical reaction. If using older eggs, check for any signs of spoilage to ensure the eggs are not rotten before cooking. Remember, if you have older eggs you won’t be using immediately, try freezing eggs to use for later.
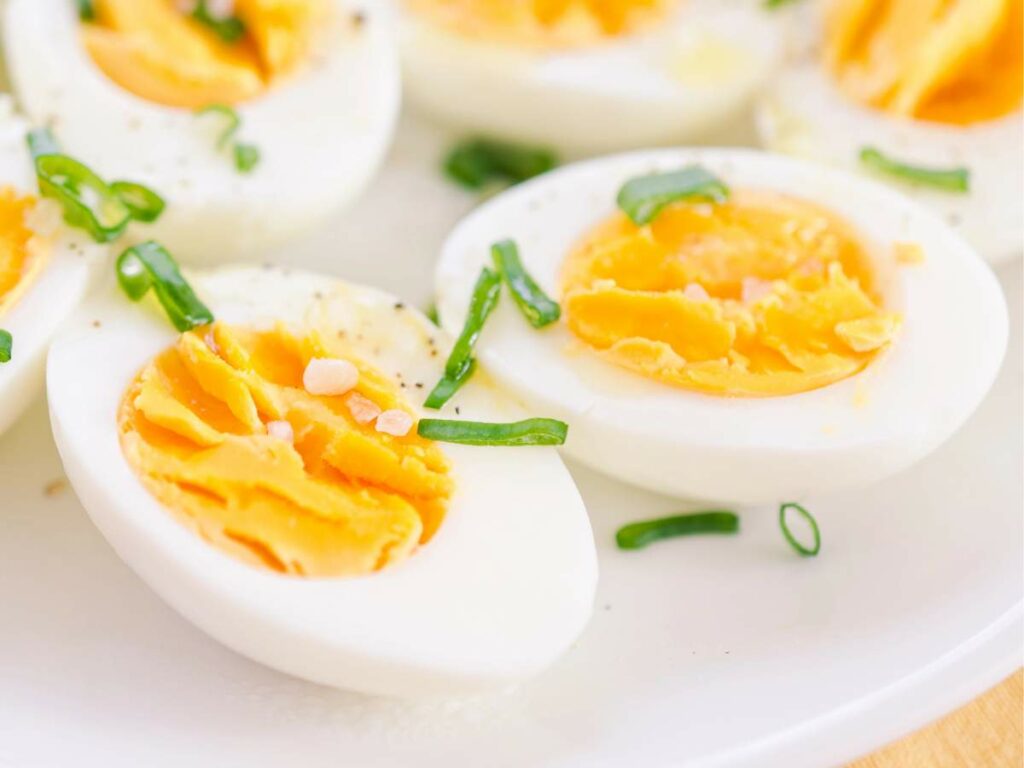
How to Pick the Best Eggs for Boiling
The fresher the eggs, the better they turn out upon boiling. Keep these tips in mind when choosing the best eggs for boiling:
- Check the dates: If the eggs are sold with a “sell-by” or “expiration” date, ensure that you choose eggs that are within this date range. This is a good starting point, but keep in mind that it’s not foolproof, as eggs can still be fresh beyond this date. If you have preserved eggs, crack them open to see if they’re still good.
- Inspect the shell: Examine the eggshell for any cracks, stains, or irregularities. Fresh eggs typically have clean, smooth shells without cracks or breaks. Avoid eggs with cracks, as bacteria can enter through these openings and spoil the egg.
- Look at the size and shape: While this doesn’t necessarily determine freshness, it’s worth noting that larger eggs tend to come from older hens. Choose eggs of uniform size and shape, as irregularities may indicate potential issues.
- Try the float test: Fill a bowl with water and gently place the eggs in it. Fresh eggs will sink and lie flat on the bottom of the bowl. If an egg stands upright or floats, it’s not fresh and should be discarded. This is because air builds up inside the egg as it ages, causing it to float.
- Do the shake test: Hold the egg close to your ear and shake it gently. Fresh eggs will make little to no noise because the egg white and yolk are tightly bound together. If you hear sloshing or rattling sounds, it’s an indication that the egg is not fresh.
Serving Suggestions
Boiling eggs opens up a world of possibilities, making them super versatile and easy to use in various dishes. Here are some serving suggestions to get creative with your boiled eggs:
- Classic deviled eggs: Mash the yolks with mayo and seasonings, then fill the egg whites for a tasty appetizer.
- Egg salad: Chop boiled eggs and mix with mayo, mustard, celery and seasonings for a creamy sandwich filling or salad topping.
- Charcuterie platter: Serve boiled eggs alongside cured meats, cheeses, olives and crackers for a Mediterranean-inspired meat and cheese platter.
- Cobb salad: Add sliced boiled eggs with bacon, avocado, tomato and blue cheese over a bed of greens. Or add chopped boiled eggs to a wedge salad.
- Snacks: Sprinkle salt, pepper or your favorite seasoning over halved boiled eggs for a quick, protein-packed snack. Or blend into an egg smoothie.
- Pickled eggs: Learn the art of pickling and for a tangy twist, immerse boiled eggs in a vinegar solution with spices for a few days before serving.
“I like medium-boiled eggs best for eating plain, especially warm ones. I find firmer hard-boiled eggs work best for recipes. Just an extra minute or two makes a difference in the texture of the yolk.”
— Lisa Wells, Coastal Wandering
What if you boil too many eggs? You can freeze raw eggs with no problem, but I don’t recommend freezing boiled eggs because the whites tend to get super hard and become watery once thawed. If you boil one too many eggs, keep them in the fridge for up to a week.
Nail the Art of Boiling Eggs
Boiling eggs might sound simple, but nailing that perfect yolk consistency takes a bit of know-how. Remember, timing and technique are your best buddies in the kitchen. So, whether it’s for breakfast, salads or snacks, a well-boiled egg is always a win.
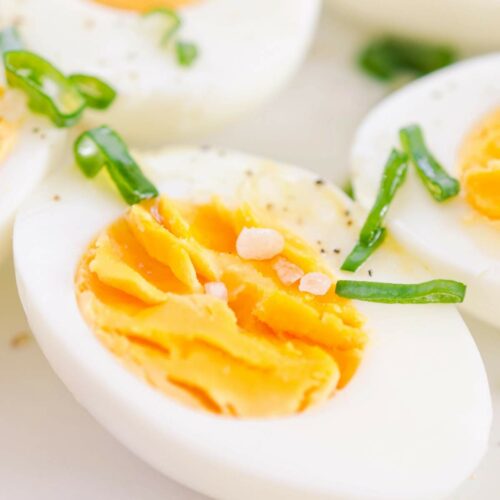
Making the Perfect Hard Boiled Eggs
Equipment
- 1 pot large enough for the number of eggs
Ingredients
- 6 whole eggs
Instructions
- Begin by bringing a pot of water to a rapid boil on the stove.
- Carefully place the raw eggs into the boiling water, making sure they are submerged.
- Allow the eggs to boil for about 30 seconds. This will help firm up the outer layer of the egg whites.
- Lower the heat to keep the water at a gentle simmer; 180 to 190 F or 82 to 88 C is an ideal temperature.
- Let the eggs simmer gently in this low-temperature water until they reach the desired level of doneness, typically around 10 to 12 minutes, depending on your preference.
- Once cooked, remove the eggs from the water and place them in a bowl of ice water to stop the cooking process and make peeling easier.
Notes
Nutrition & Macros
To obtain the most accurate representation of the nutritional information in a given recipe, please calculate the nutritional information with the actual ingredients and amounts used, using your preferred nutrition calculator. Under no circumstances shall the this website and the author be responsible for any loss or damage resulting for your reliance on the given nutritional information.
Portions of this article originally appeared on Food Drink Life.


Really good info. I had no idea about putting them in boiling water.
Thank you for visiting the post, Cate! I’m glad this tip is helpful.
I didn’t realize but I’ve been blasting mine with way too much heat. Turning down the heat has made much more tasty eggs. TY!
Happy cooking, Everett! I’m glad just a simple adjustment was the fix you needed.